X
wikiHow is a “wiki,” similar to Wikipedia, which means that many of our articles are co-written by multiple authors. To create this article, 9 people, some anonymous, worked to edit and improve it over time.
This article has been viewed 11,093 times.
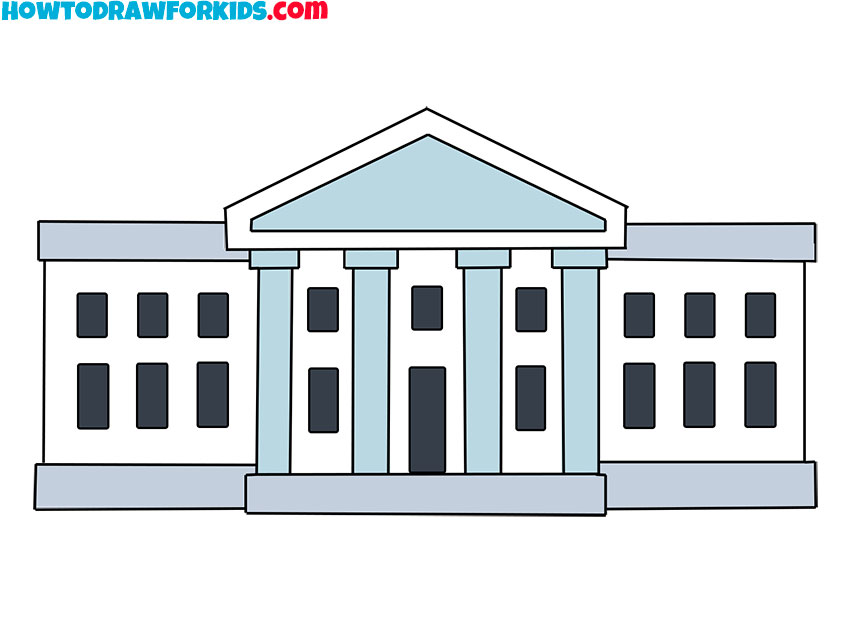
The White House is one of the most recognizable buildings in the world. If you want to draw this symbol of the American Presidency, this wikiHow will teach you.
Steps
Method 1
Method 1 of 2:
North Lawn
- Draw a rectangle.
- Divide the rectangle into 8 equal parts horizontally.
- These are guide lines, so draw these lines lightly. You will erase them later.
- Divide the rectangle into three equal parts vertically.
- Divide up the left and right sections into 8 equal parts vertically. These are all guide lines for the many windows of the White House.
- Using the guide lines, draw windows in the illustrated areas.
- Add 4 columns in the middle section, spread out evenly (shown in red).
- Add 6 windows in between the columns, using the guide lines to make sure that they are the same size.
- Once this step is completed, you can erase the guide lines.
- Add another rectangle and triangle at the top, as illustrated in blue.
- Draw a rectangle that is half the height of the triangle.
- Add lines on both sides to draw the trim.
- Add the details and design elements, referencing an image of the White House.
- Finish with color and a background if desired.Advertisement
Method 2
Method 2 of 2:
South Lawn
- Start from step 4 from the previous section.
- Draw two lines (shown in blue) two lines down from the top.
- Draw a curved line connecting the two drawn lines.
- Draw another curved line in between the two guide lines.
- Draw another curved line just below the fourth line as shown.
- Draw a trapezoid as shown, starting just below the second line from the bottom.
- Add pillars where shown. Note that there is more space between the front two pillars than the back ones.
- Draw two guide lines lightly, as shown in red.
- Draw rectangles at the bottom of each pillar, and draw a line down on the end pillars until the trapezoid.
- Draw an angled line, connecting the inner corner of the end pillar rectangle bottoms to the line as shown.
- Draw stairs as shown.
- Extend the guide lines (shown in red) drawn in step 8 to the edge (shown in blue)
- Using the guide lines for the top line, create more windows. Note that if you later want to add trees in front, some of the windows may be covered up.
- Draw a line on either side of the pillars on the first line as shown.
- Draw a curved line, connecting the two drawn lines in the last step.
- Draw additional details, such as the flag, window details, and lines.
- If desired, add color using markers, paints, colored pencils, or other materials. And you are finished!Advertisement
Expert Q&A
Search
Ask a Question
200 characters left
Include your email address to get a message when this question is answered.
Submit
Advertisement
About this article
Thanks to all authors for creating a page that has been read 11,093 times.
Did this article help you?
Advertisement


