How to Replace & Upgrade Your Cabinet Doors
One of the easiest ways to upgrade your kitchen or give it an instant facelift is to swap your cabinet doors & drawers. Door style is one element that instantly dates a kitchen, but luckily it’s an easy fix. From poorly made lightweight doors to 90’s arched oak doors, swapping your cabinetry doors is an effective and budget-friendly way to makeover your kitchen. Since we’re mid kitchen renovation in our basement, I’ve been getting lots of questions about what that process looks like and where I purchased replacements doors. I’m breaking down the details, cost, and I’m sharing a complete door swap tutorial in today’s post- click through!
If you missed my latest basement kitchen renovation update, be sure to check that out. We’re finally to the fun part and things are really starting to come together! Ready to check out the door replacement process? Here’s a little peek at the before and after…
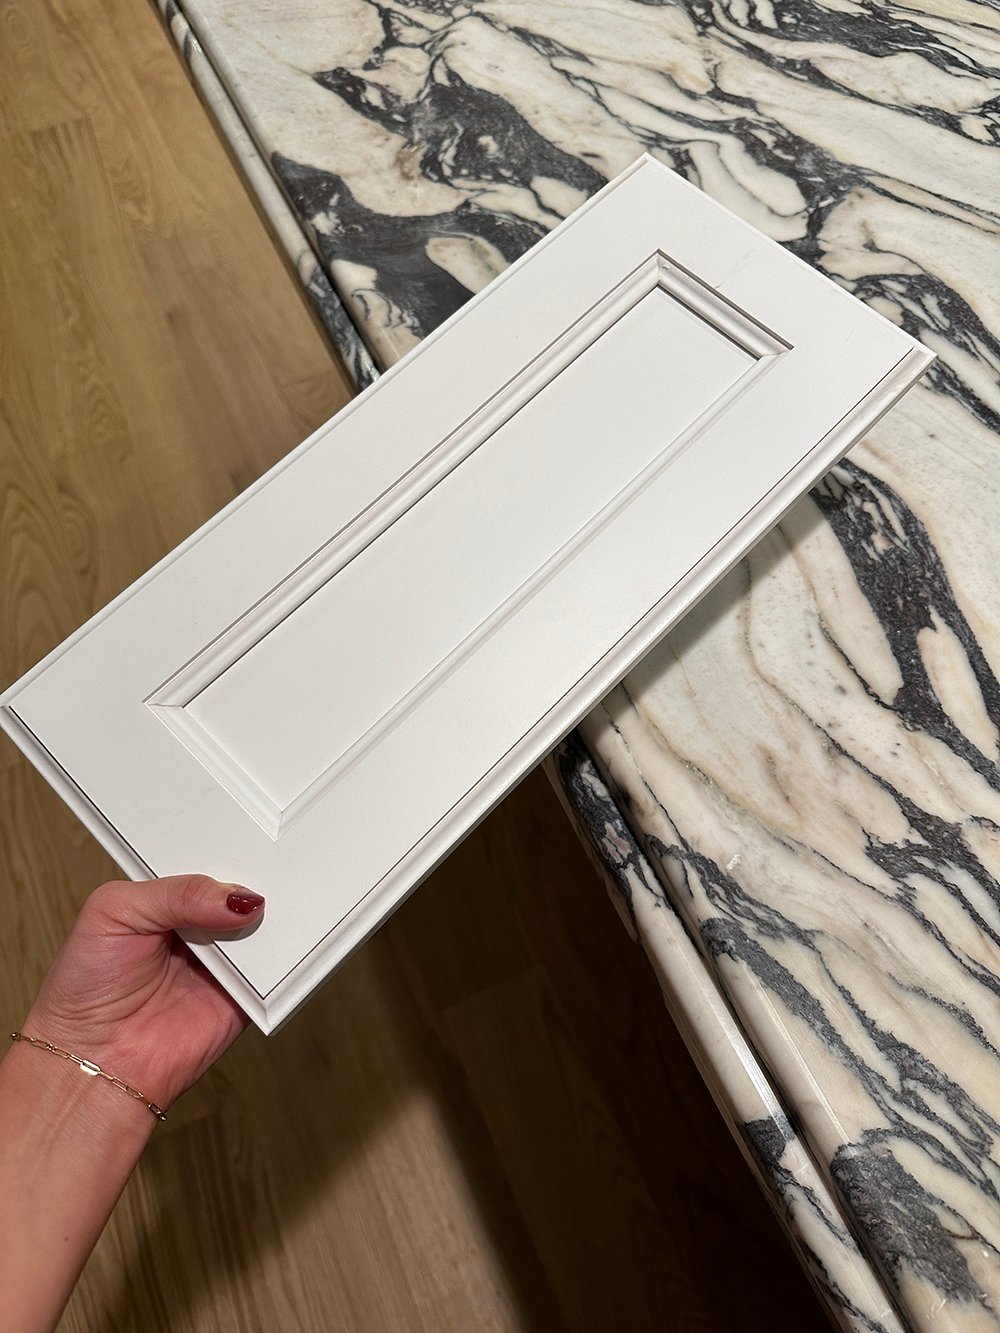
Measure for New Doors
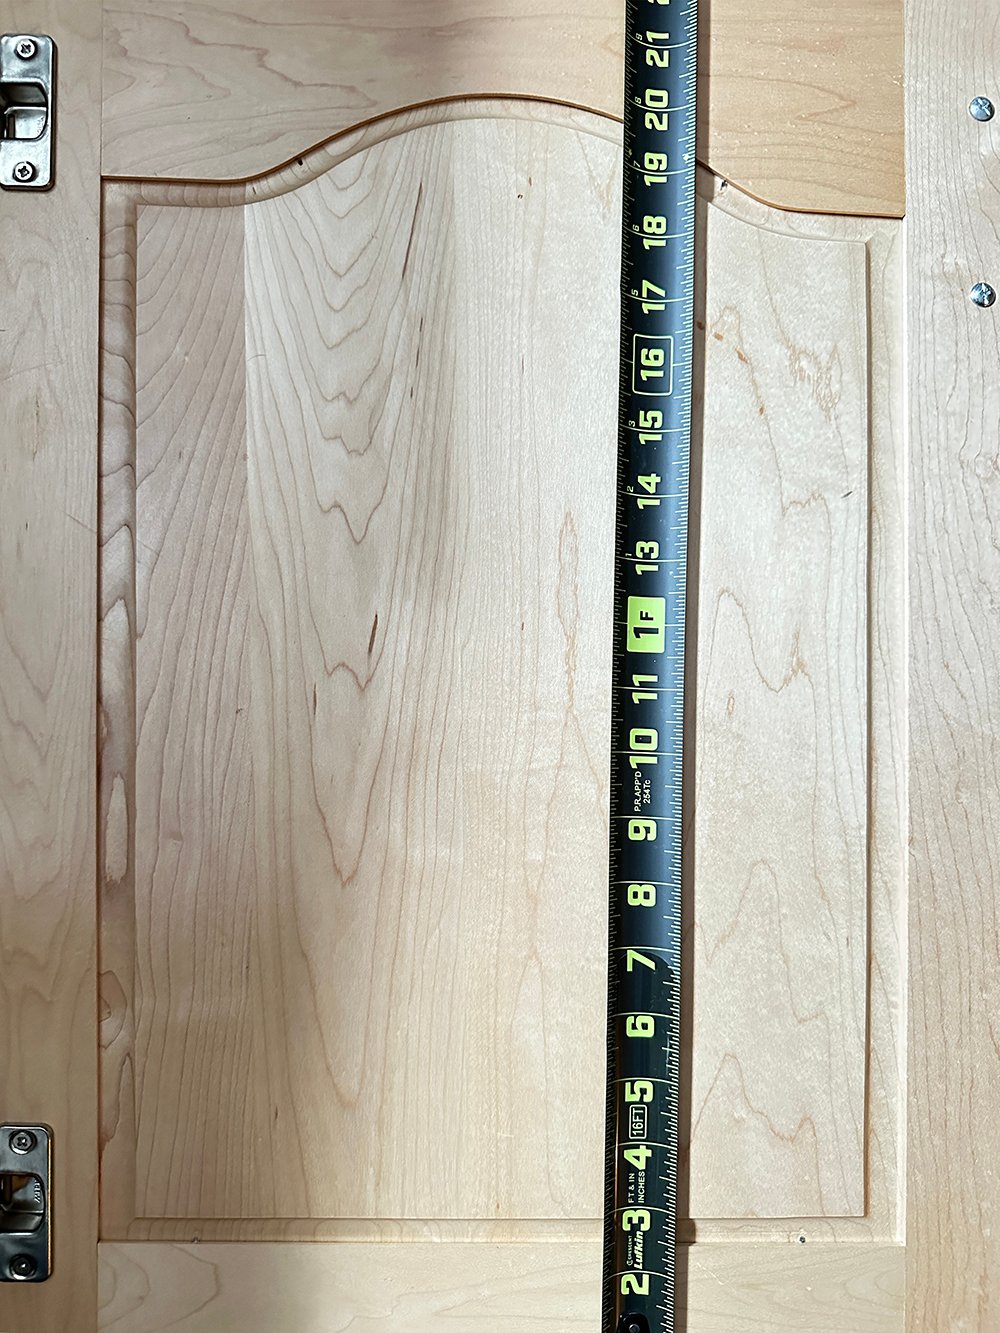
It may seem counterintuitive, but you’ll get the most accurate measurements by measuring the backside of the cabinet door (since it’s perfectly flat). Other measurements and details you should jot down…
- Cabinet Width
- Cabinet Length
- Hinge Position (if you’d like pre-bored hinges, see the image below)
- Door Swing Direction (if you’re having hinges bored)
- Number of Doors
- Number of Drawers
- Don’t Forget to Include False Fronts or Non Functioning End Panels (like in front of the sink)

I’d highly recommend having your hinges pre-bored. Why? It requires a special piece of equipment. The only reason we did not have ours bored from the manufacturer is because Emmett has access to a hinge borer at his work (a cabinetry shop). When measuring for hinge placement, you’ll measure to the CENTER of the hinge. In the above image, you’ll see the hinge is in the 3″ position… for both the top and bottom hinge (they always match).
Remove the Existing Doors & Drawer Fronts
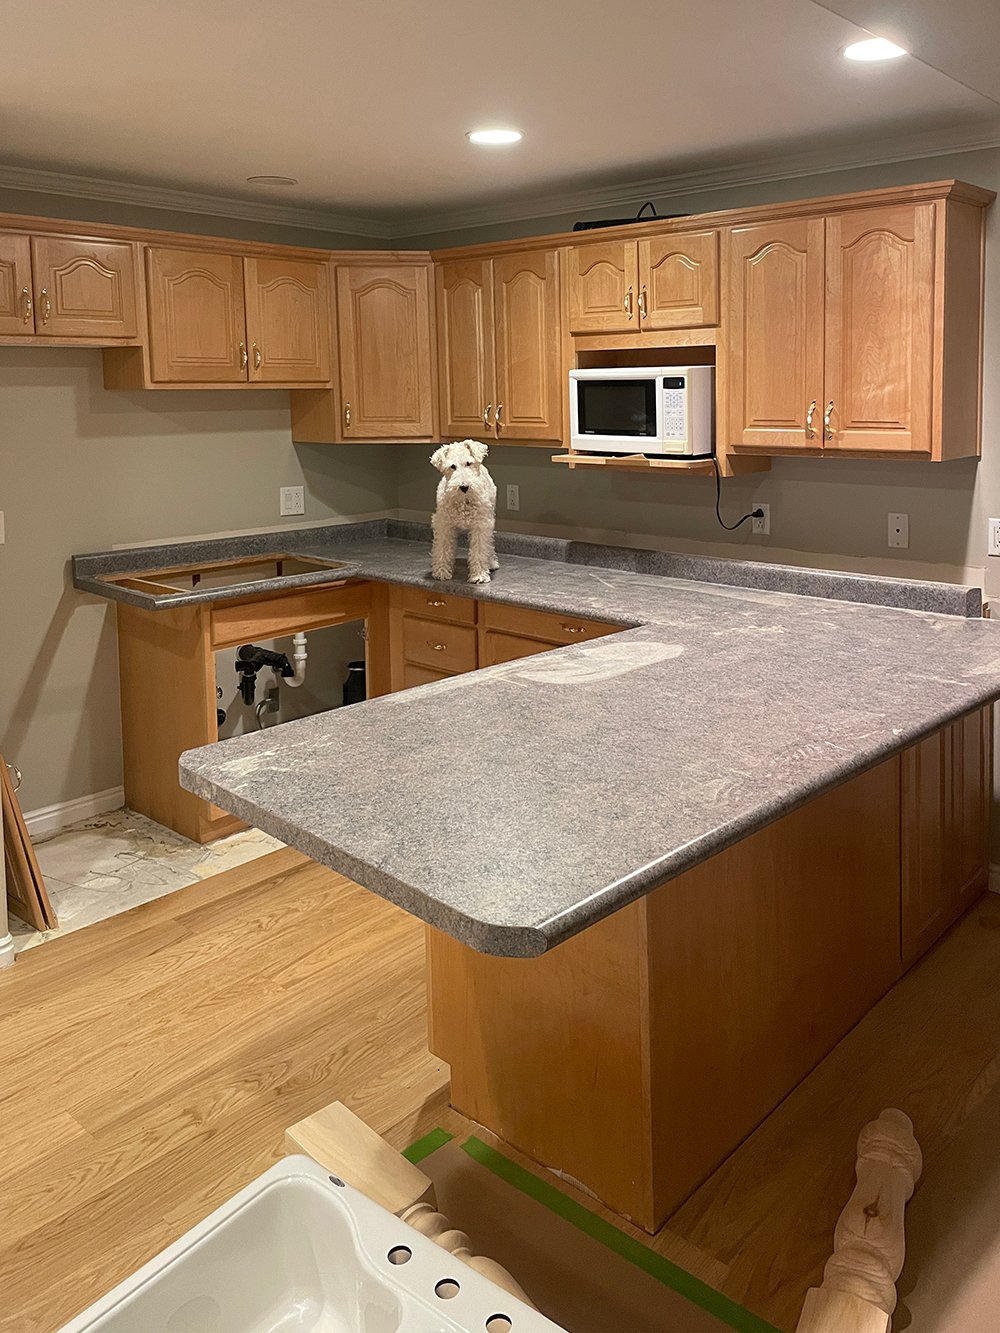
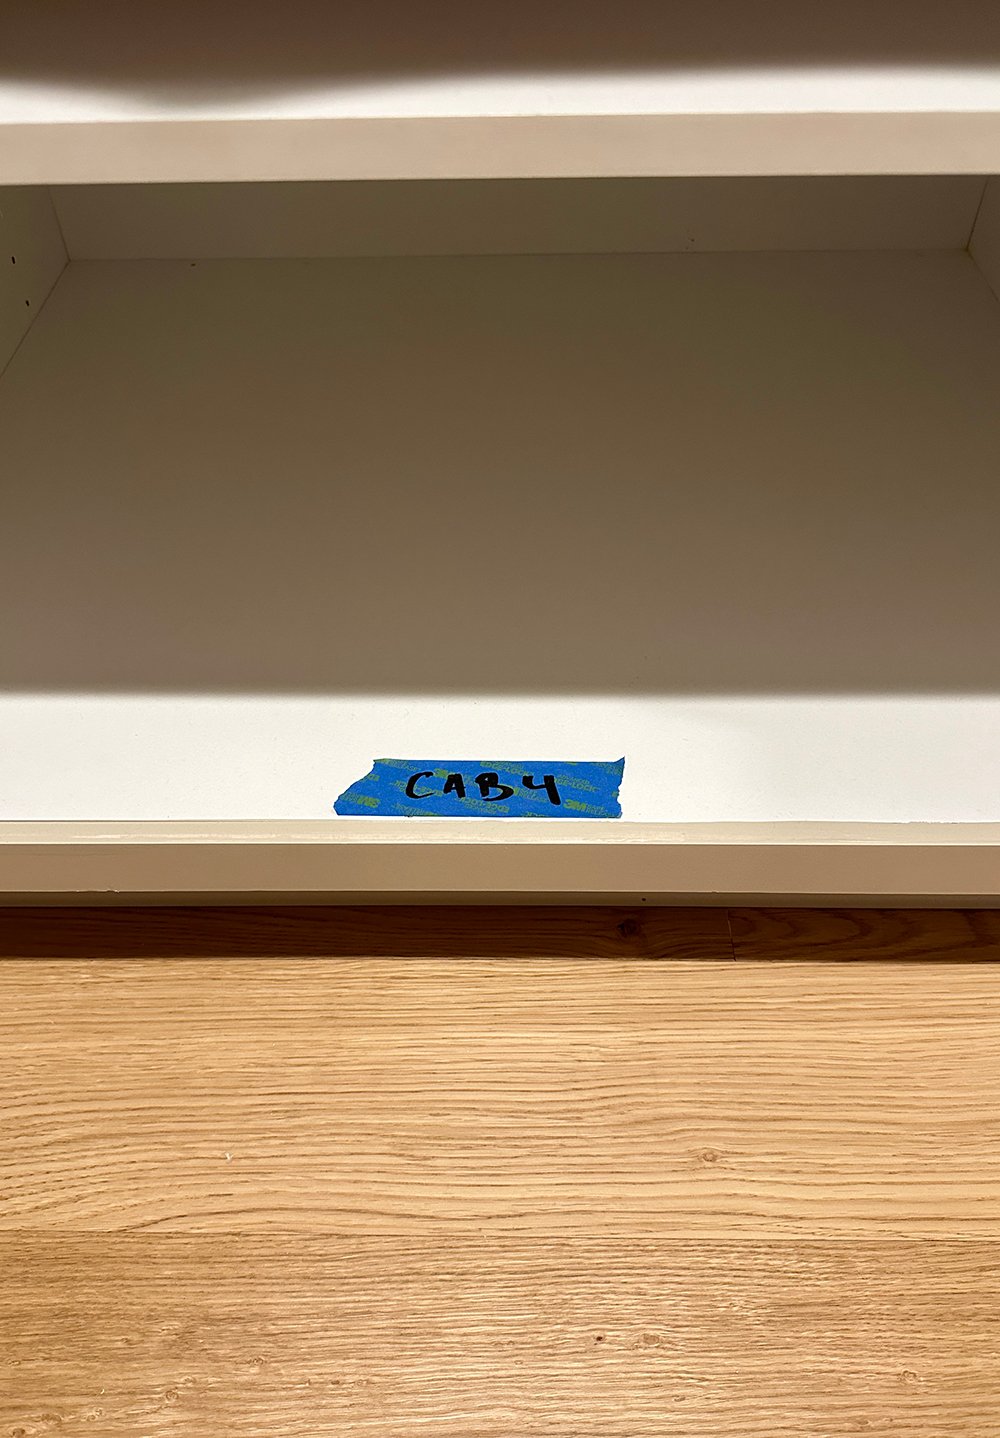
This is pretty much where our basement kitchen started… minus the carpet, as we were just wrapping up installing our hardwood flooring. Once you’ve measured your doors, begin removing them. Quick tip: label each cabinet and sketch a quick diagram of which door was installed where (with measurements). It will be easier to identify where each new door should be installed.
Select & Order Updated Drawers & Doors
Now, the fun part… select and order your new drawer fronts and cabinet doors! There are plenty of profiles to choose from, different species of wood, and selections to make. We ordered our doors from The Cabinet Door Store, and I opted to have them primed. As I previously mentioned, I’d also recommend having your hinge holes bored. They were easy to work with, and responded quickly when I emailed a few questions. They did take about 4 weeks, so just be aware of the lead-time.
Some quick stylistic and design tips for ordering classic cabinet doors and drawer fronts that will withstand the test of time…
- Choose a durable material (solid wood)
- Save yourself some time (pre-bored hinges, primed and ready-to-paint, etc)
- Choose a profile that isn’t too trendy
- Consider the rail size for hardware placement
- Make sure your drawer fronts and cabinet doors feel cohesive
- Consider upgrading to soft close hinges for a higher-end feel and increased longevity
Paint or Stain The New Doors & Face Frame
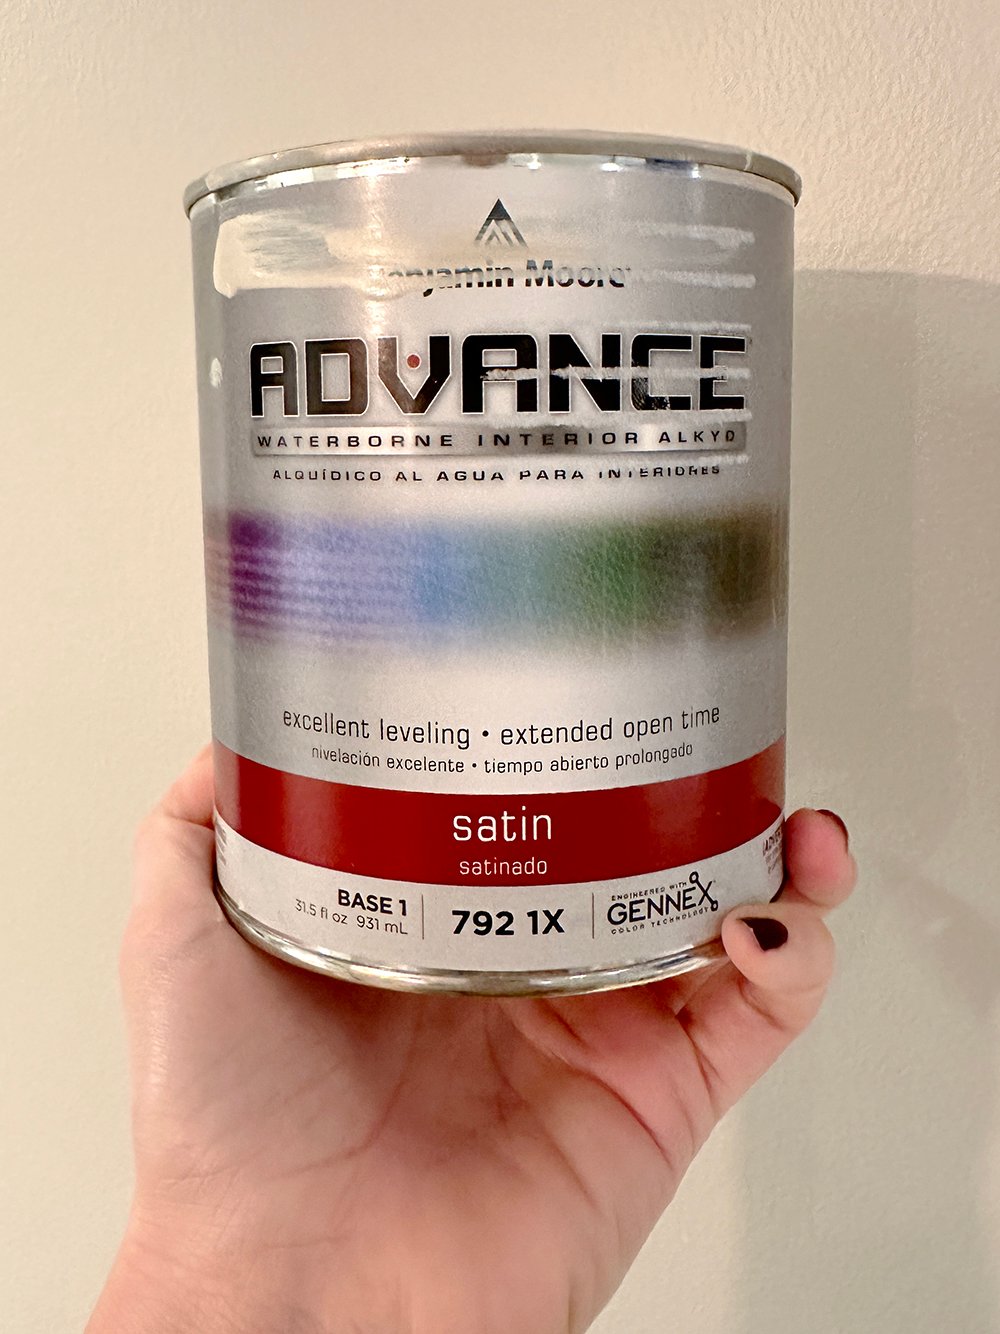
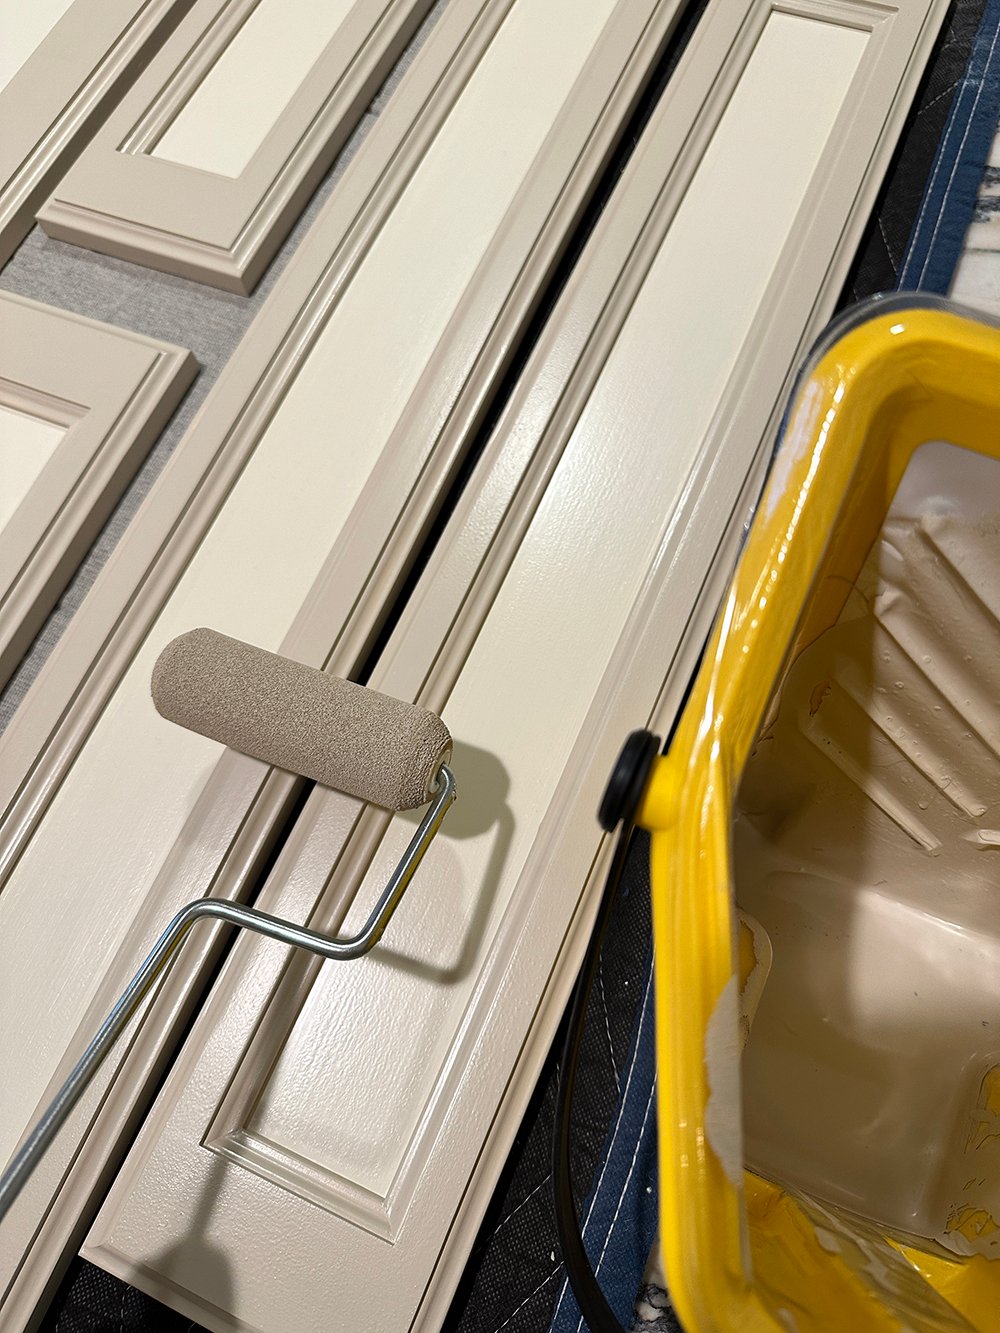
I used Benjamin Moore’s Advance paint in a satin finish for our cabinets. One color was custom mixed (to match our refrigerator that is arriving soon) and the other color I used was Grant Beige. This is an excellent, high quality paint that self levels and has a super durable finish. For the application, I used a brush and high density foam roller in multiple thin coats (3-4 passes once it had completely dried). Since the doors came pre-primed… I was able to dive right in with the paint.
The face frame is the cabinet frame you removed the doors from. Typically, the face frame will match the doors & drawers (paint or stain color). In my case, I opted for two-tone doors, so the face frame took the darker of my two cabinet colors for a cohesive look. I did lightly sand the face frame and I applied a thin coat of primer prior to painting it for better adhesion and durability! See below…
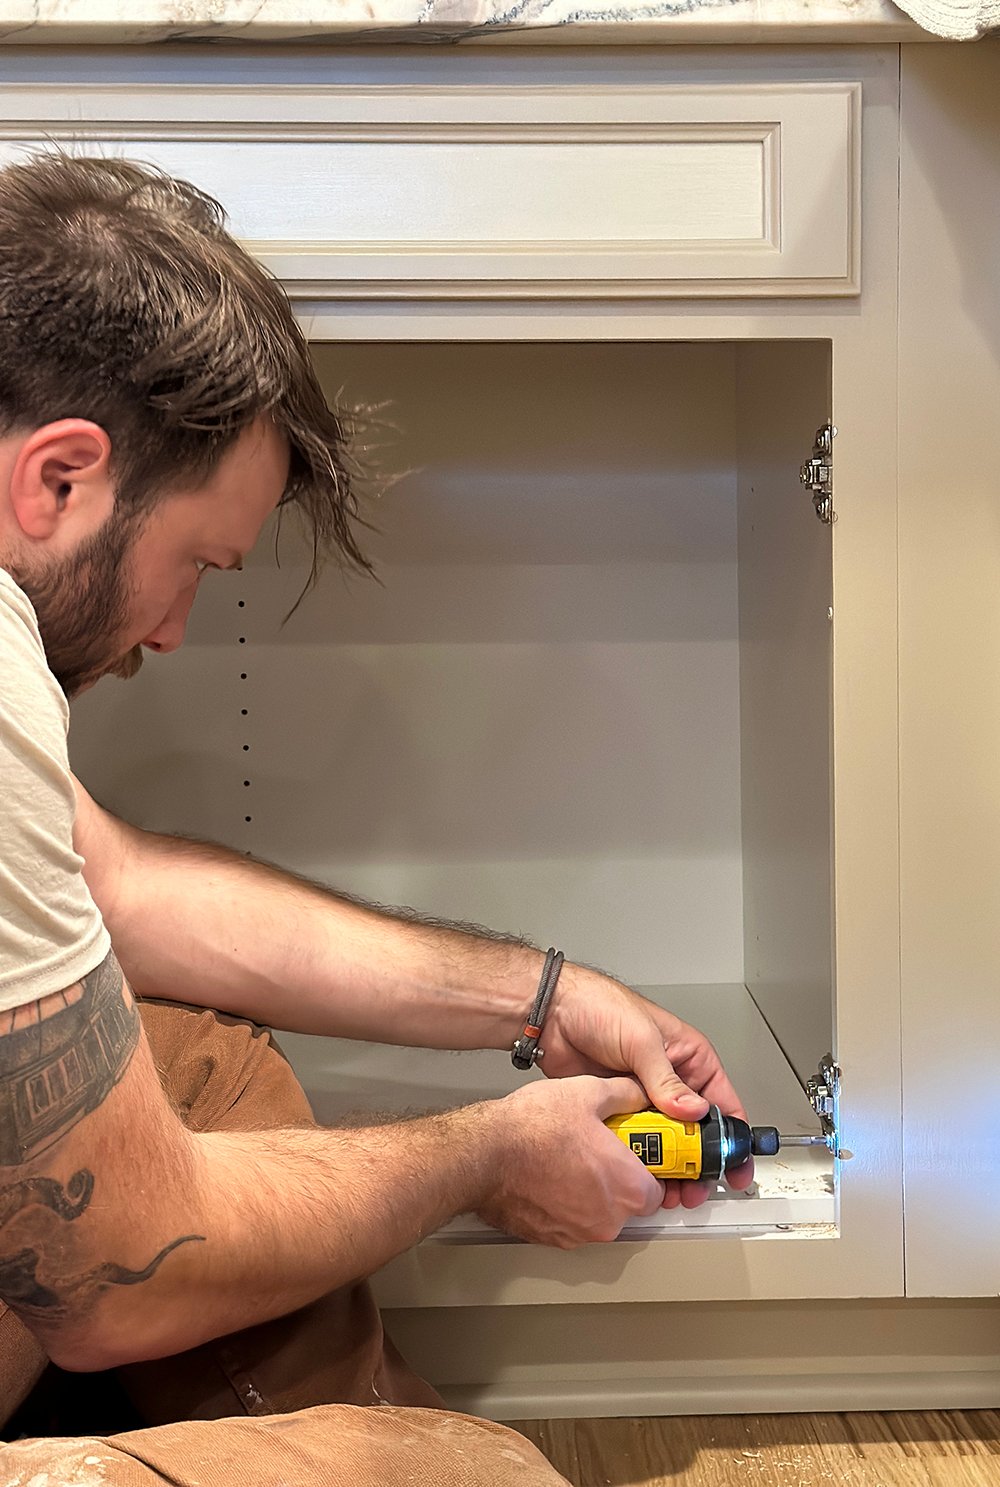
Install Hinges
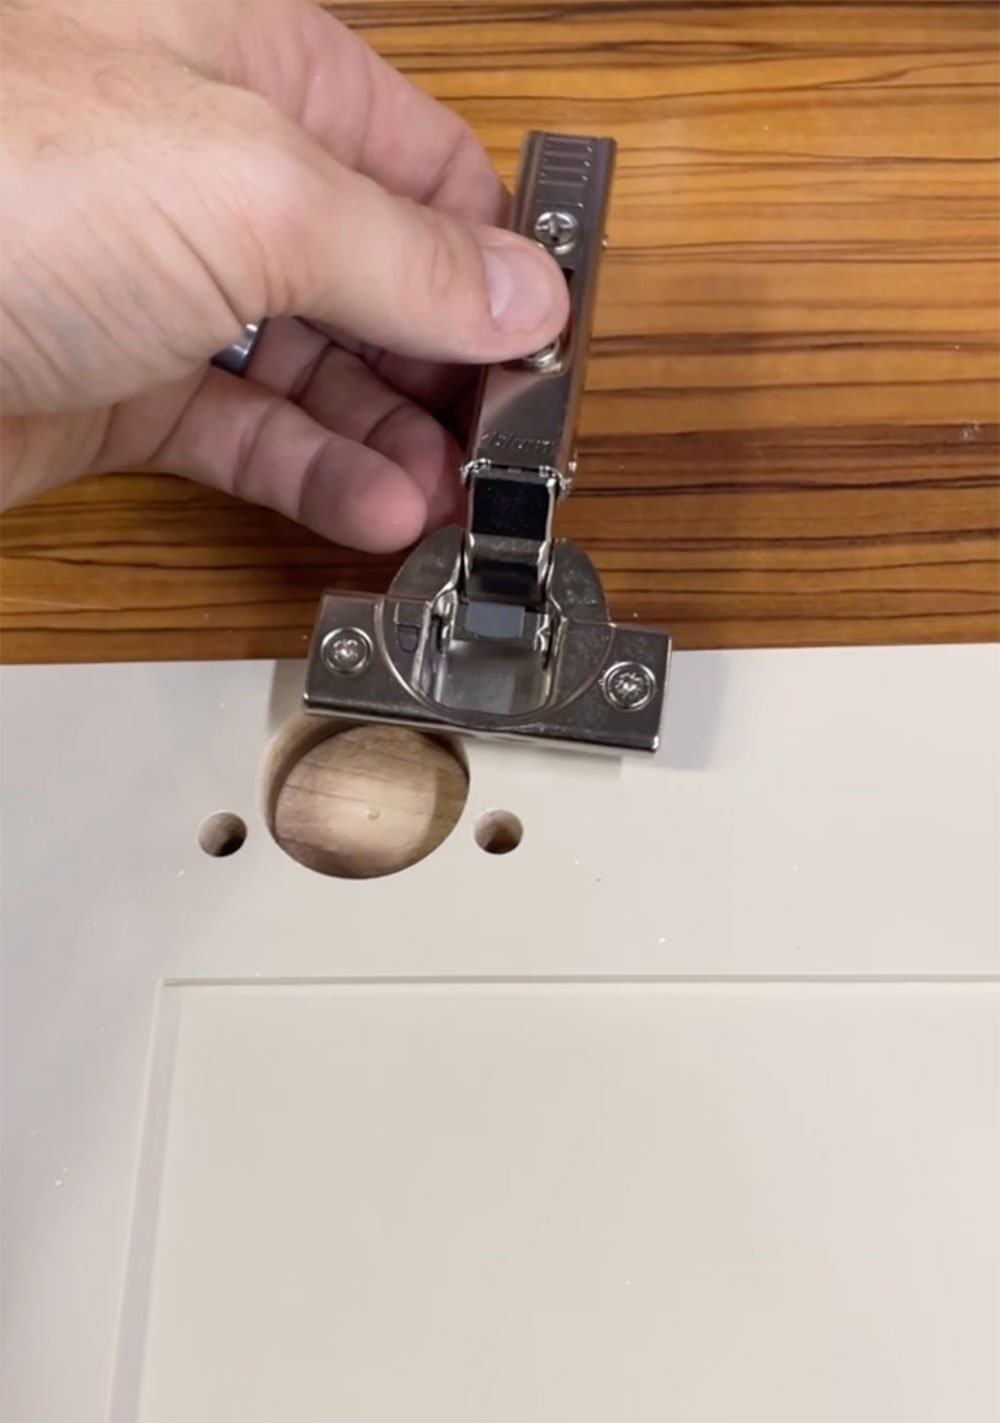
As I previously mentioned, I wouldn’t call hinge boring a beginner DIY because it requires an expensive piece of equipment. Emmett has access to a hinge borer at his work (a cabinetry shop), so he knocked ours out there. Luckily, all of the cabinet door manufacturers offer pre-bored and / or installed hinges, so I’d highly recommend that option if you don’t have access to a hinge boring machine. This is what it looks like…
You may need to install the hinges, which is easy. Some hinges press into the bored holes (like the kind pictured below), while others screw in. I’d also consider upgrading to soft close hinges, since you’re investing in nice cabinet doors.
Measure, Mark, and Install the Finished Doors
Measure, mark, and install the hinges, then snap the doors back into place. Screw the drawer fronts onto the drawer boxes, and things should be looking really good and cohesive at this point!
Install Hardware
The last, and my personal favorite, step is to install your hardware. Hardware makes a huge difference in the overall aesthetic, but even as an interior designer- I’ll admit, you don’t need to spend an arm and a leg. Both the knobs and pulls we used, I found on Amazon… and both were budget friendly. I’ve saved my favorites here for you.

FAQ
We got these from The Cabinet Door Store. Rather than placing an order from his work, we opted to buy these because they were priced to fit our budget and had a shorter lead-time. We didn’t want to push our little project into their production schedule, especially during the busy season!
No! Our full size kitchen is on the main level. It’s the space most people associate with my account or aesthetic. It has moody dark cabinetry, durable soapstone countertops, and panel ready appliances. We renovated it in 2019 and I still adore our kitchen. The cabinets you’re seeing throughout this post live in our basement kitchen- which we’ll use as a bar, since it’s open concept to our basement media room… and it looks nothing like our upstairs kitchen.
We have this Graco paint sprayer and love it, but for this particular door profile and the fact that I was painting a two toned look would have made spraying equally as difficult or time consuming. I found it easier to get in close with a tiny brush and work in layering thin even coats for a professional look and durable application. I honestly think it’s more about the quality of the paint you’re using!
Follow my tutorial on how to paint a door… it’s the same for cabinet doors! You’ll need a good brush, quality paint, and high density foam rollers (specifically for doors & cabinets).
I sure do! Check out my favorite Benjamin Moore paint swatches here.
Paint grade maple, primed. Budget friendly, durable, and ready to paint!
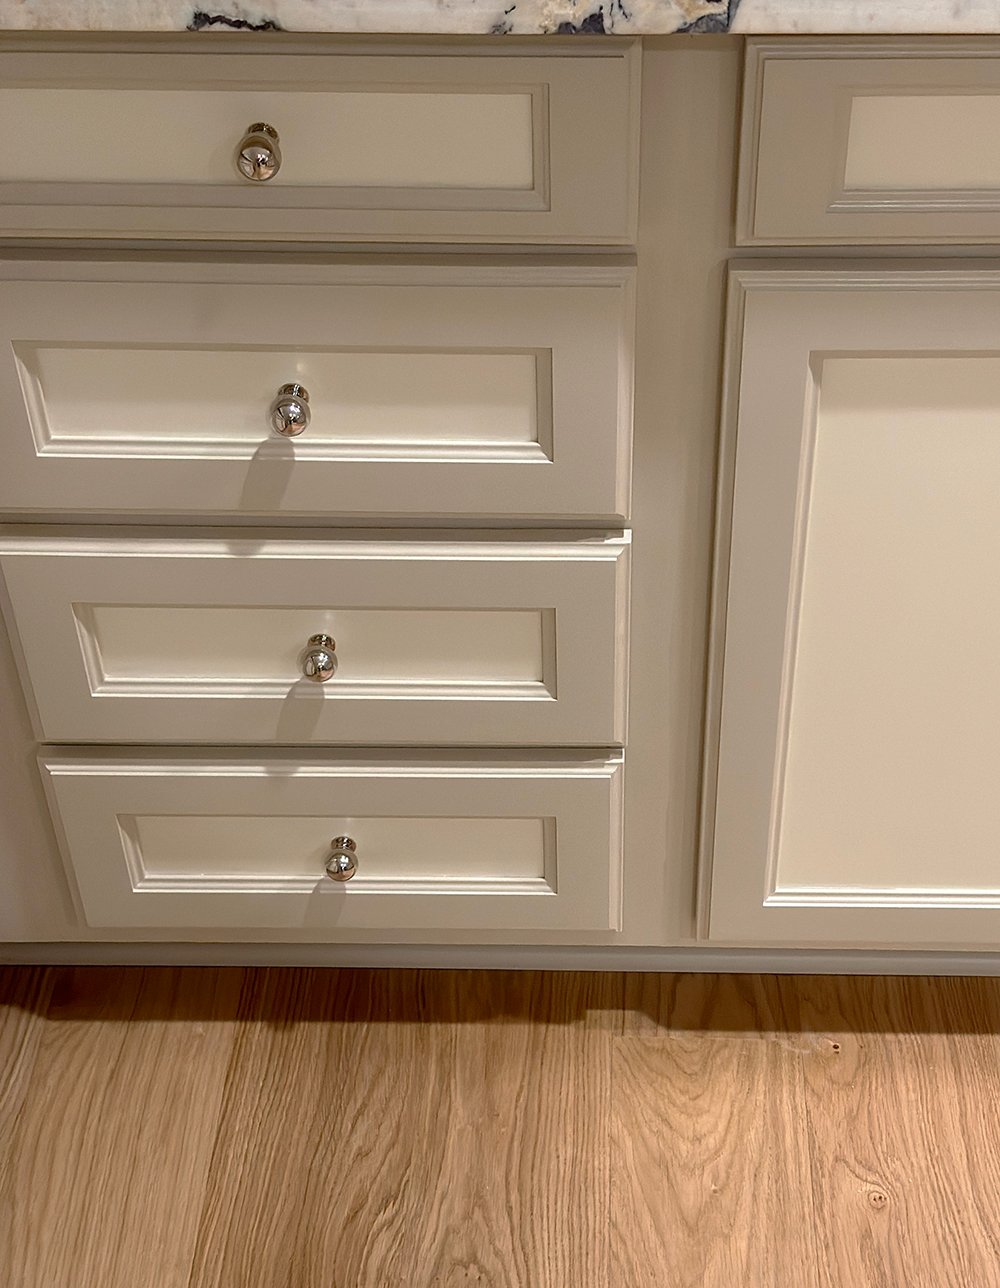
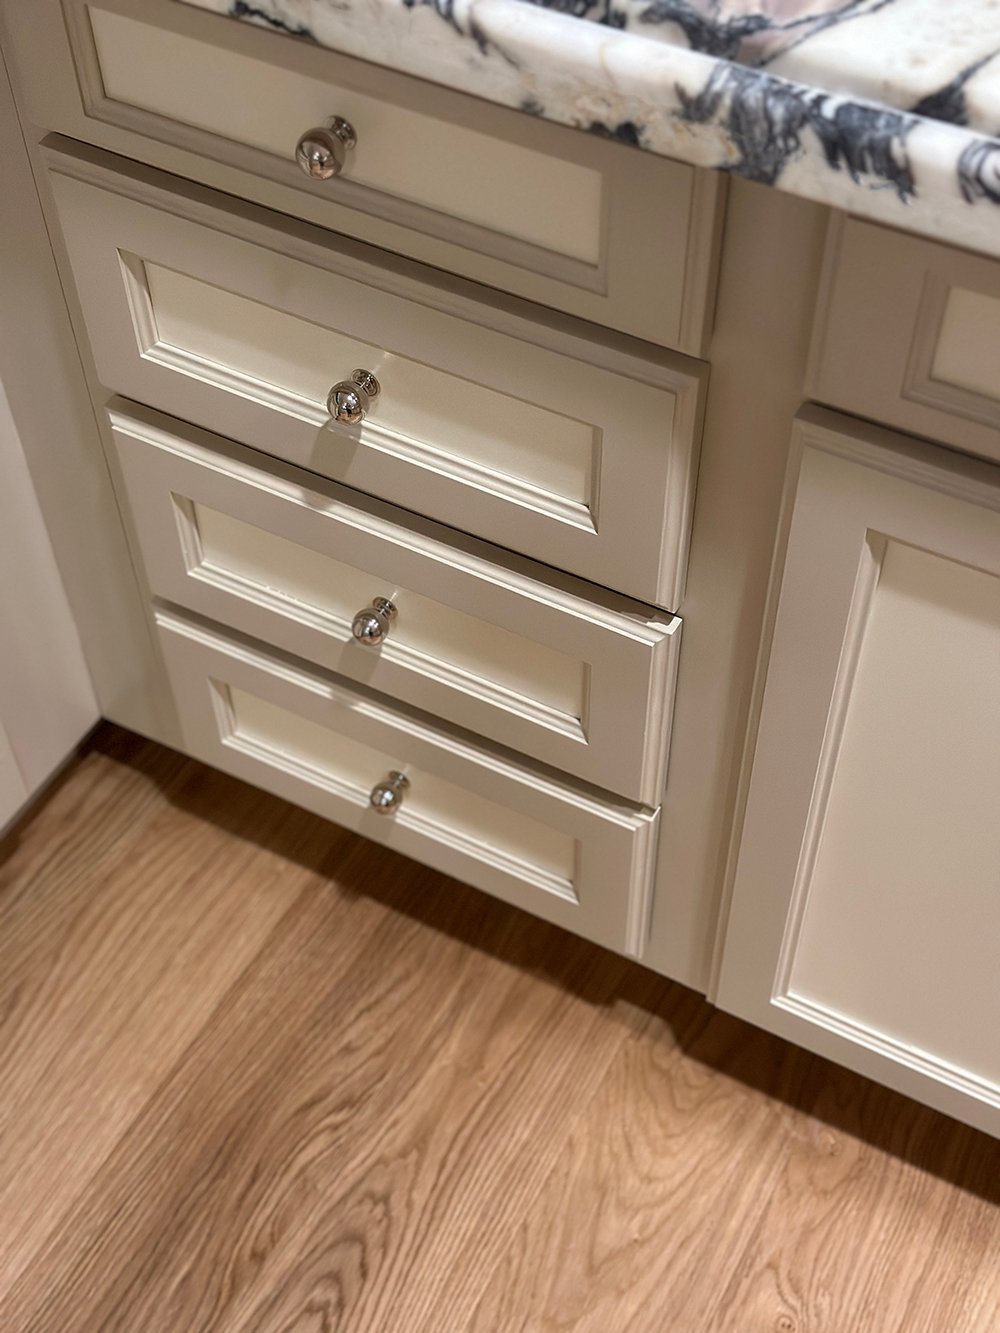
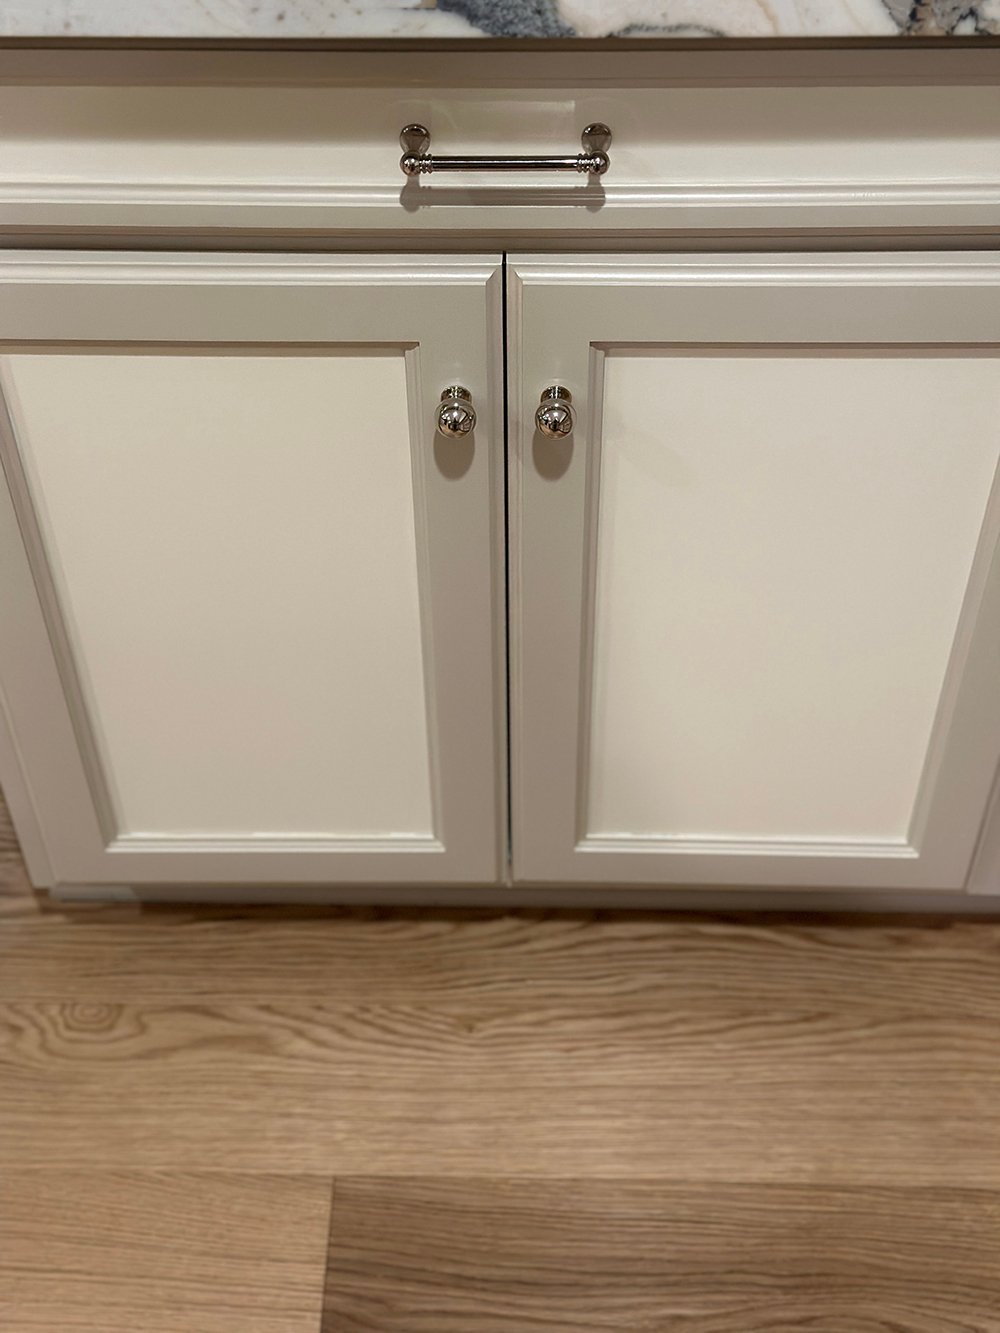
If you’ve got more questions for me- be sure to leave them in the comment section! I’m always happy to help. Here are a few more sneak peeks at the end result (I don’t want to give away the entire kitchen yet, as we’ve got plenty left to do).
Cost
I also wanted to share a quick breakdown of the cost with you. All of our primed, paint grade maple doors and drawers (18 pieces) for this kitchen cost around $850… a fraction of what replacing the cabinets would have cost. If you’re curious what our main kitchen cost, you can see the complete kitchen budget here. Comparing that space to our basement kitchen, this is definitely a budget-friendly renovation.
Other Impactful Ways to Update a Dated Kitchen
If you’re not looking for a complete kitchen demo & renovation- or are trying to stick to a budget… here are some more ways to update a dated kitchen. I’d recommend picking and choosing a couple of these for an impactful makeover that’s easier on the wallet!
- Paint Your Kitchen Cabinets
- Swap the Hardware
- Install Under Cabinet Lighting
- Replace the Countertop
- Update the Plumbing Fixtures (Kitchen Faucet, Pot Filler, etc)
- Invest in New Appliances
- Replace the Backsplash
- Install Open Shelving
- Deep Clean and Restyle
You may also be interested in reading 10 ways to save money on major home buys… that’s a very applicable post- especially as we head into a new year with an updated home to-do list. What projects are you hoping to tackle this year? Our entryway paint is beginning this week and we’re still working on the basement. I feel like those two BIG spaces will be super nice once they’re finished. All good things!