Learn how to draw a pencil: Start with a simple round pencil. Next, draw a classic six-sided pencil. Finally, just for some fun, let’s turn that pencil into a cartoon character.

The first pencil we draw is nice and round, which makes it the easiest and simplest pencil to draw.
Our second pencil is very similar to the first one, but this time it is the traditional hegaxonal, or six-sided pencil. See how the tip and body changes?
Once you know how to draw a real pencil, let’s turn it into a cheeky cartoon pencil that glides happily on the paper!
min
You will need: pencil, fineliner pen, colored pencils, eraser and drawing paper or sketchbook
Disclaimer: LetsDrawThat.com participates in the Amazon Associates Program. If you purchase a product using a link on our website, we earn a small commission, at no extra cost to you. This is one way how you can support this website.
Love drawing? Never miss a tutorial!
How to draw a pencil: simple round pencil
The first pencil we will draw is nice and round, which makes this the easiest and simplest way to draw a pencil. One long rectangle, with a triangle for the sharpened tip, makes the complete base shape. Then we add a few curved lines and the pencil is done.
How to draw a round pencil: base sketch
Step 1: Draw the base pencil shape
Let’s start drawing our base pencil body as one veeeeery long rectangle. Draw it at an angle, so it will look like the pencil is being used on the paper right now.
Next, add a triangle for the pencil tip. Again, the triangle is rather long and narrow – just check the angle of the sharpened part on the pencil you are using right now!
Two simple shapes and our pencil base is drawn – how easy is that?
How to draw a round pencil: outline the drawing step by step
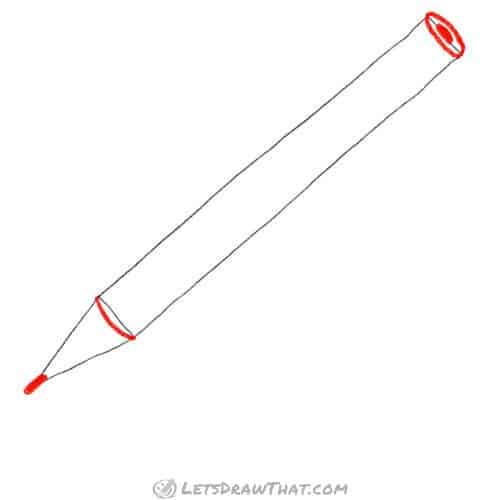
Step 1: Add the lead tip and round ends
Grab your thicker pencil. As these are very simple steps we will start drawing them as the final outline without sketching.
First, add two ovals at the top of the pencil. The larger one is the outer contour of our round pencil, which becomes an oval in perspective. Then add the small inner oval for where the graphite lead shows through at the centre of the wood.
Next is a simple curve where the pencil changes the shape into the tip. Since the pencil is round, the shape is a simple half oval.
And finally, add the very tip of the pen – the graphite lead. We draw it as a bit of a long blob or narrow pill shape.
Step 2: Draw the pencil outline

Add four more straight lines to draw the pencil outline – two parallel long ones for the pencil sides, and two for the tip of the pencil – and our pencil drawing is done.
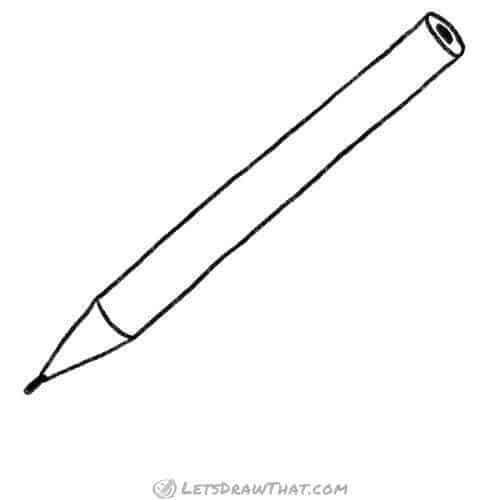
How to draw a round pencil: finished drawing
How to draw a round pencil: finished outline drawing

Here is the usual clean-up to show the completed outline of the drawing.
How to draw a round pencil: finished drawing coloured-in

Every drawing looks better in colour, right? So let’s get our pencil coloured in with your favourite colour.
Well, we like red – so our pencil body is coloured in red. The parts of the pencil where wood is showing are coloured in dark yellow, or you can use beige or light brown – something of a woody colour.
And a final trick before you start your colouring – leave a white highlight in the middle of the pencil drawing. That will nicely define the round shape of our pencil.
(Oh, and did you notice I am cheating here? Because my pencil is red, I have re-coloured the lead at the tip and top of the pencil to red as well – mine is a colouring pencil! Nothing an eraser and a few new lines would not fix…)
How to draw a round pencil: finished drawing coloured-in with a background
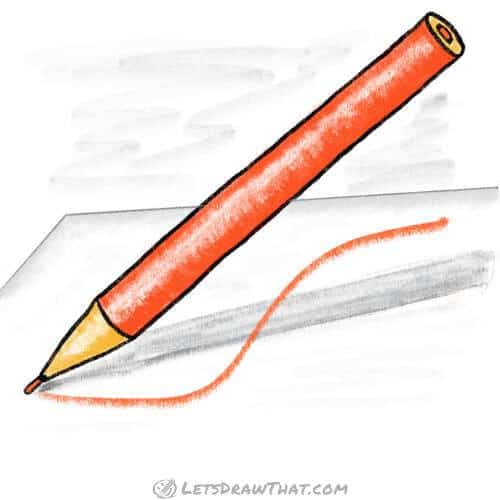
Well, this is definitely an optional addition. But now that you have drawn a pencil, it is nice to show it being used for the actual drawing.
Here we have added the pencil shade, the line that was drawn by our pencil and a suggestion of the paper we are drawing on. Now that is a pencil drawing completed.
How to draw a pencil: hexagonal pencil
Our second pencil is very similar to the first one, but this time it is the traditional hegaxonal, or six-sided pencil. So we add a few more parallel lines to the pencil body. That turns the “draw a pencil” exercise into a “draw a straight line” challenge. The rest is again simple. The result looks better because that is what everyone imagines as the classic pencil.
How to draw a hexagonal pencil: base sketch
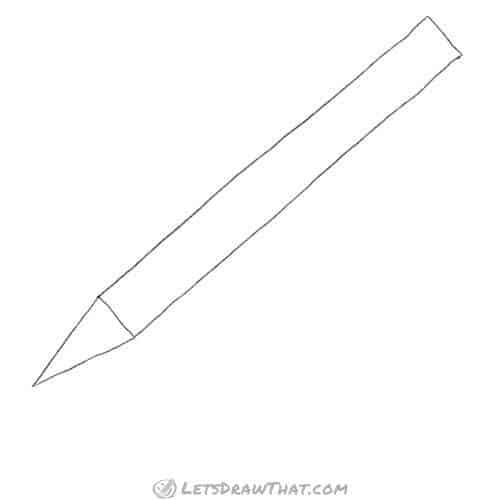
Step 1: Draw the base pencil shape
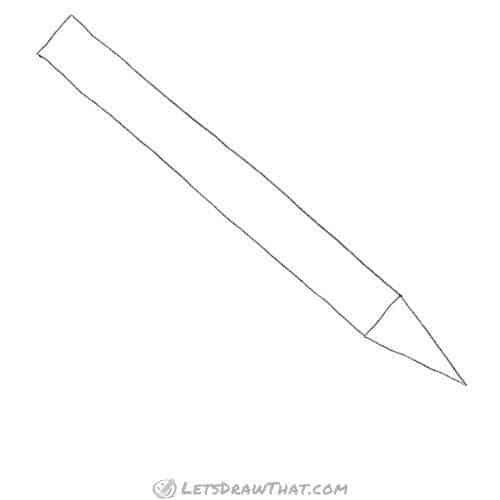
Well, if this looks familiar to you and exactly like the base shape for our round pencil, that is because that what it is – one very long rectangle for the pencil body a triangle for the pencil tip.
Just for a change and a bit of line drawing practice, we have flipped it left to right. There!
Step 2: Add two edge lines
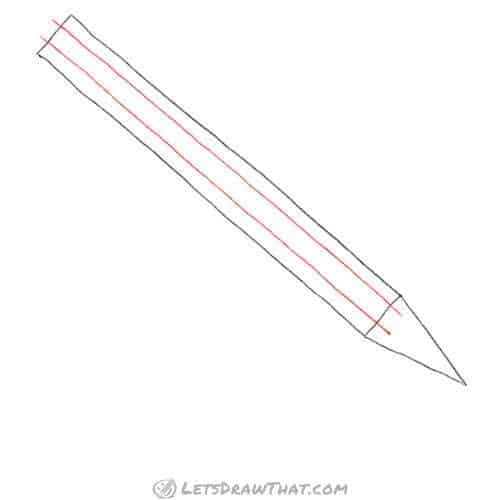
Since this time we are drawing a six–sided pencil, we need to add some extra lines to define the pencil shape.
So draw two extra lines along the length of the pencil body, parallel with the sides. Notice we have drawn them a bit longer on both sides. We will use the extra length in the next step.
So – how good are you at drawing four straight and parallel lines? It took me quite a while to get them right. Well, you can always use a ruler, if you have one…
How to draw a hexagonal pencil: outline the drawing
Step 1: Draw the pencil tip and top

Here is the use for our extra bits on the middle lines.
Let’s draw the hexagonal shape on top first. It is similarly squashed like the oval above, but made from six straight lines. The two in the middle are parallel to the upper edge of the pencil body’s top. Then finish the hexagon by joining the pencil edge to those two lines. Then add the squashed dot in the centre for the lead.
The tip of the pencil is again similar to the round pen. The difference is the shape of the line where the pencil body meets the tip. Since the body is flat-sided, each part makes a separate small curve. So draw some nice, small waves between the four lines.
Step 2: Finish drawing the pencil body

Now it is time to complete drawing the pencil body. Well, here is another straight line practice for you. Yes, I have given up on trying to draw a straight line by hand and used a ruler here. It just makes the pencil drawing look better…
How to draw a hexagonal pencil: finished drawing
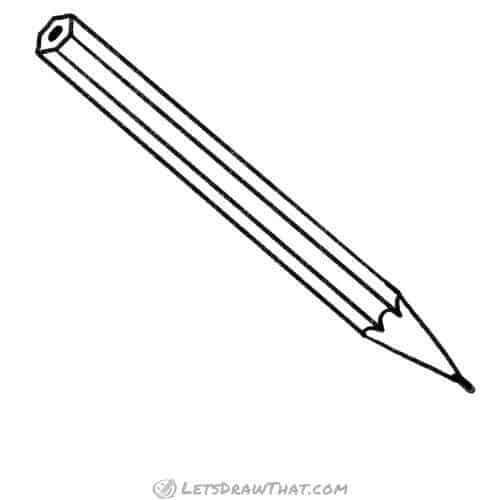
How to draw a hexagonal pencil: finished outline drawing

You know the drill – let’s use our eraser to clean up and show the drawn pencil outline.
How to draw a hexagonal pencil: finished drawing coloured-in

Here we colour in the pencil. We have used a blue colour for a change, and the same dark yellow for the wood parts.
Notice the left out white highlights along the upper-mid line to define our pencil’s shape.
How to draw a hexagonal pencil: finished drawing coloured-in with a background

Same as above, we complete our pencil drawing with the shading and bit of a paper. This time, we have done the shading with blue, to complement the pencil’s colour.
How to draw a pencil: Cartoon Pencil

Now that you know how to draw a real pencil, it is time to stop being serious and draw a cheeky cartoon pencil. While our character is the same six–sided pencil from above, he does not have a single straight line in him as he glides on the paper!
How to draw a cartoon pencil: base sketch step by step
Step 1: Sketch the pencil body outline
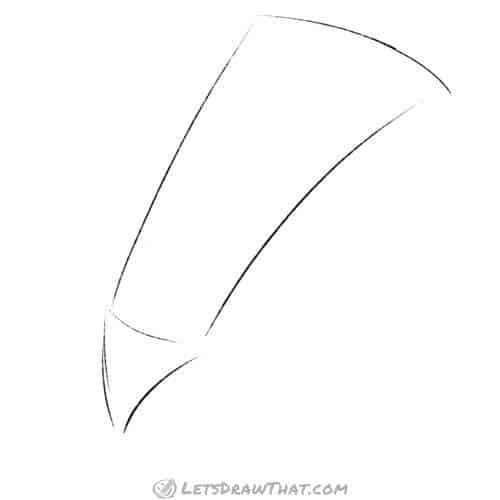
So here we go: we draw the same basic shapes, a rectangle and a triangle to build our pencil body. But this time all the lines are curved.
Also, the pencil body “rectangle” is not only bent but also wider at the top – that will give us an exaggerated, dynamic perspective.
Step 2: Sketch the face and ferrule
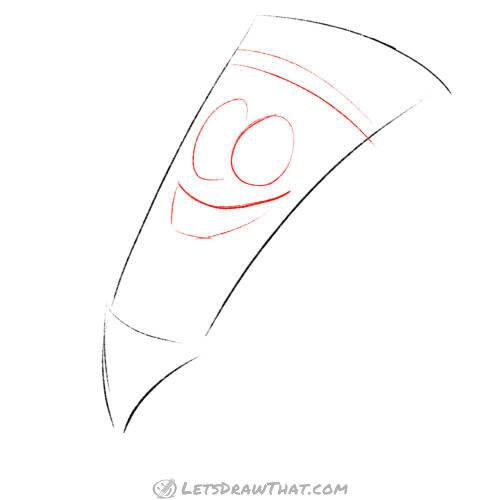
Next, we sketch the pencil character face: First an oval for the right eye. Then add a half oval for the second eye – it is partially behind the other.
Now add two curved lines to draw a wide, smiley, and happy mouth.
Finally, add two more curves above the eyes, like a headband. On a real pencil, this would be the ferrule, the small metal band that holds the eraser in place.
Step 3: Sketch in the details Sketch in the details

Now we will complete the sketch by adding the two inner edges along the length of the pencil. Once you have those drawn, add the waves separating the pencil body from the tip.
That is our pencil sketch drawn.
How to draw a cartoon pencil: outline the drawing step by step
Step 1: Outline the pencil character’s face
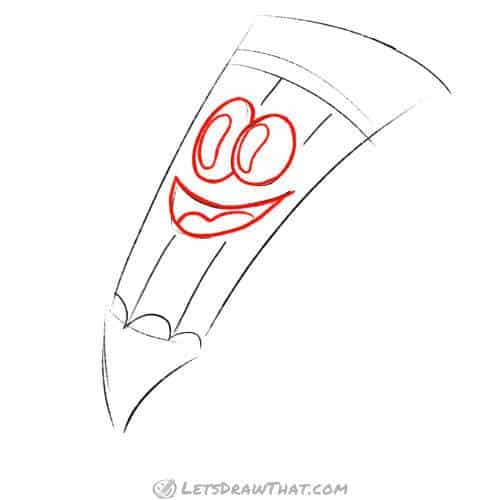
We start drawing the pencil by outlining the face. Draw out the eyes and the mouth from the sketch.
Then add the extra details. Two bean shapes into the eyes – these will be the eye pupils. And a double wave into the mouth – that is the tongue.
Step 2: Outline the eraser and ferrule

Now we start outlining the rest of the pencil. Starting from the top, we outline the eraser “hat”. Notice that we have rounded the corners a fair bit – this is a nice, well-worn eraser.
Next, the ferrule – that is the little band holding the eraser in place. Again the outer edges and corners are slightly rounded.
Step 3: Draw the pencil body

Time to draw the outlines for the pencil body – the outer shape and inner dividing lines. Next, add the wavy line where the six-sided pencil body turns into the conical tip.
Step 4: Finish drawing the pencil tip
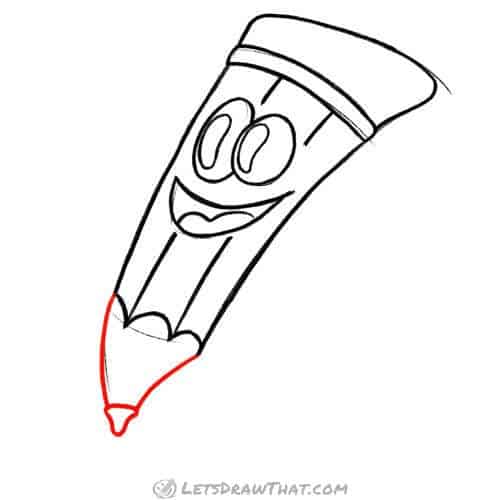
We are almost done. The last bit is to draw the pencil tip. You can draw it as a simple triangle. But to continue with our friendly rounded shapes theme, we have added a rounded top edge and rounded tip. The result looks a bit like a pacifier.
Then draw the two side lines to complete the pencil tip.
Step 5: Add a pencil trail
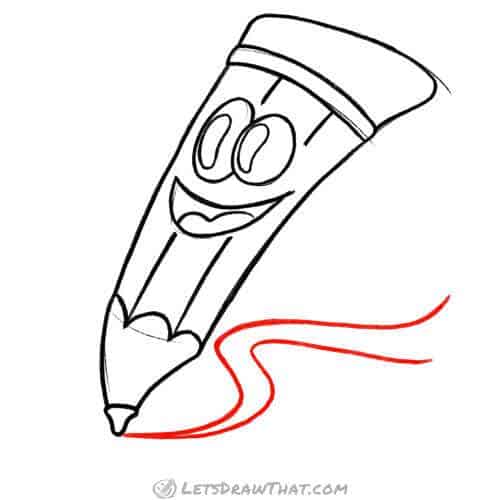
Since our pencil man is a happy chap sliding on the paper, let’s give him a nice trail, so we can tell where he was drawing.
Draw two “S” shaped lines, starting from the pencil tip for a great skid mark.
How to draw a cartoon pencil: finished drawing
How to draw a cartoon pencil: finished outline drawing
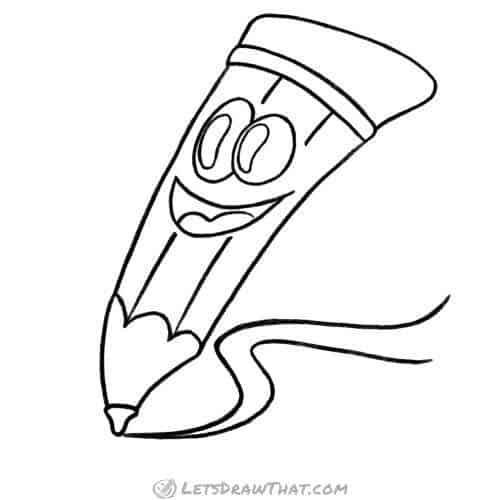
Our usual clean-up – use the eraser to show the completed pencil drawing.
How to draw a cartoon pencil: finished drawing coloured-in
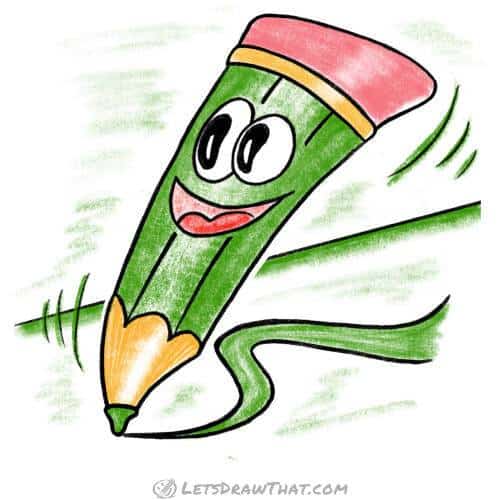
Let’s finish our cartoon pencil drawing by colouring it in.
Since we have drawn a red and blue pencil above, let’s colour the last pencil in green. We colour the eraser a nice pink – that is the colour they usually are. Same pink for the mouth, and a red tongue. Finally, finish the ferrule strip and pencil tip in dark yellow.