Chances are, you’ve been captivated by the bright and bubbly personality of Dory, the charming regal blue tang from Disney/Pixar’s Finding Nemo and its sequel, Finding Dory. Known for her short-term memory loss and her unwavering kindness, Dory has swam her way into the hearts of many, both on and off-screen.
A Deep Dive into Dory’s Appearance
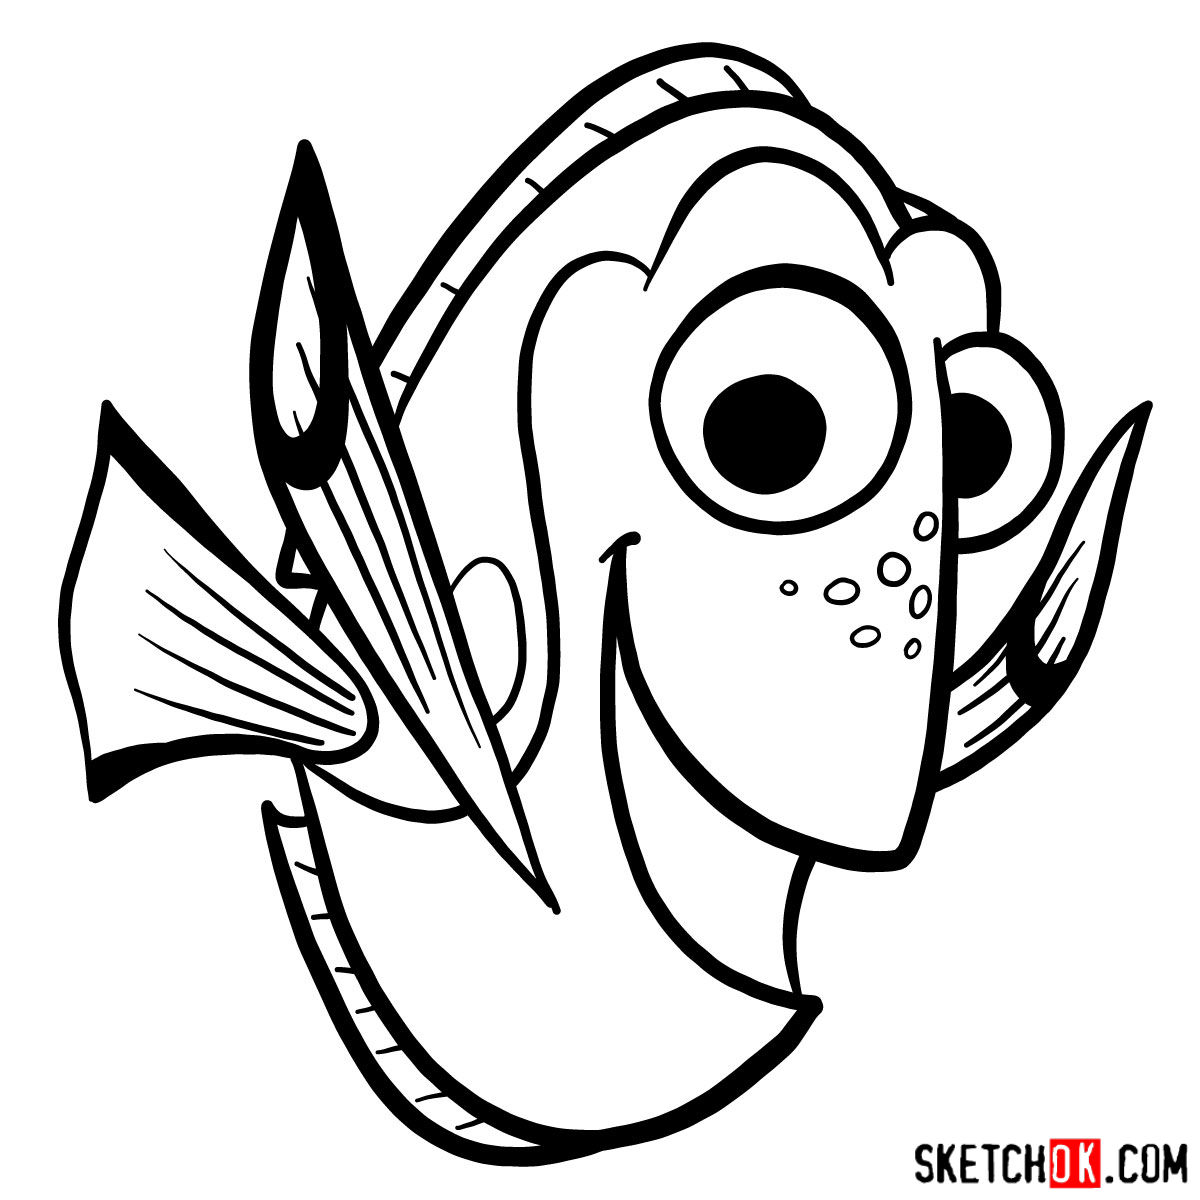
Dory is uniquely designed, with her vibrant blue and yellow coloring, a rounded body, and a small but brightly colored dorsal fin. Here are the key characteristics to focus on when drawing Dory:
- Round body shape
- Regal blue color with yellow accents on her fins and tail
- Magenta eyes and black spots
- Small, brightly colored dorsal fin
- Dark blue freckles on and above her nose
You might also consider drawing Dory alongside other characters from the movies, such as Marlin, Nemo, or her parents. This can create a more dynamic scene and add depth to your artwork.
Getting to Know Your Guide
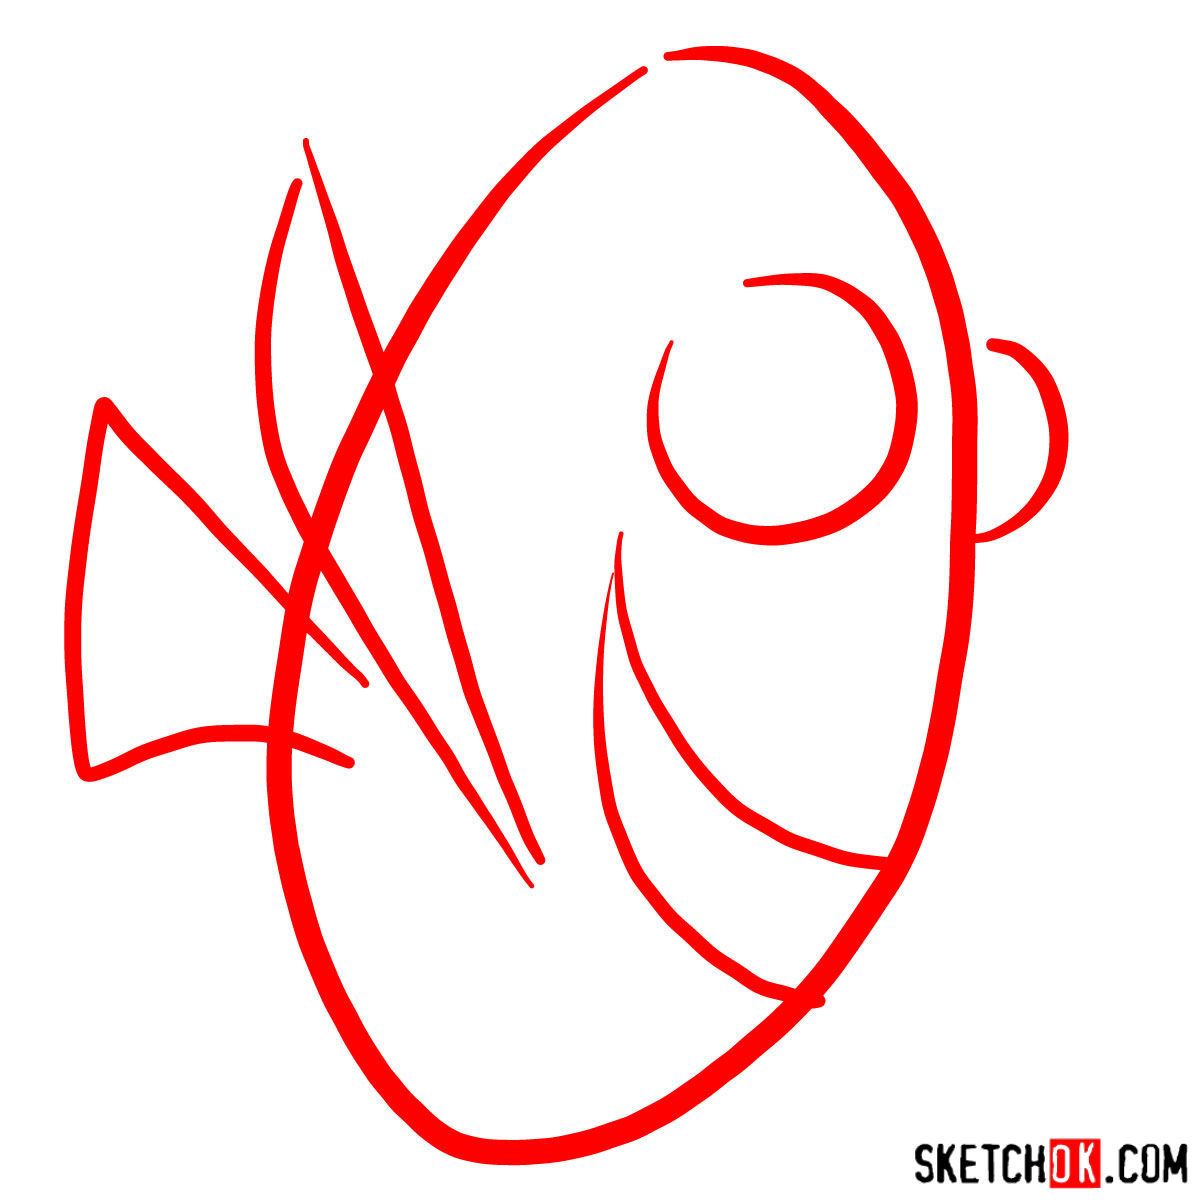
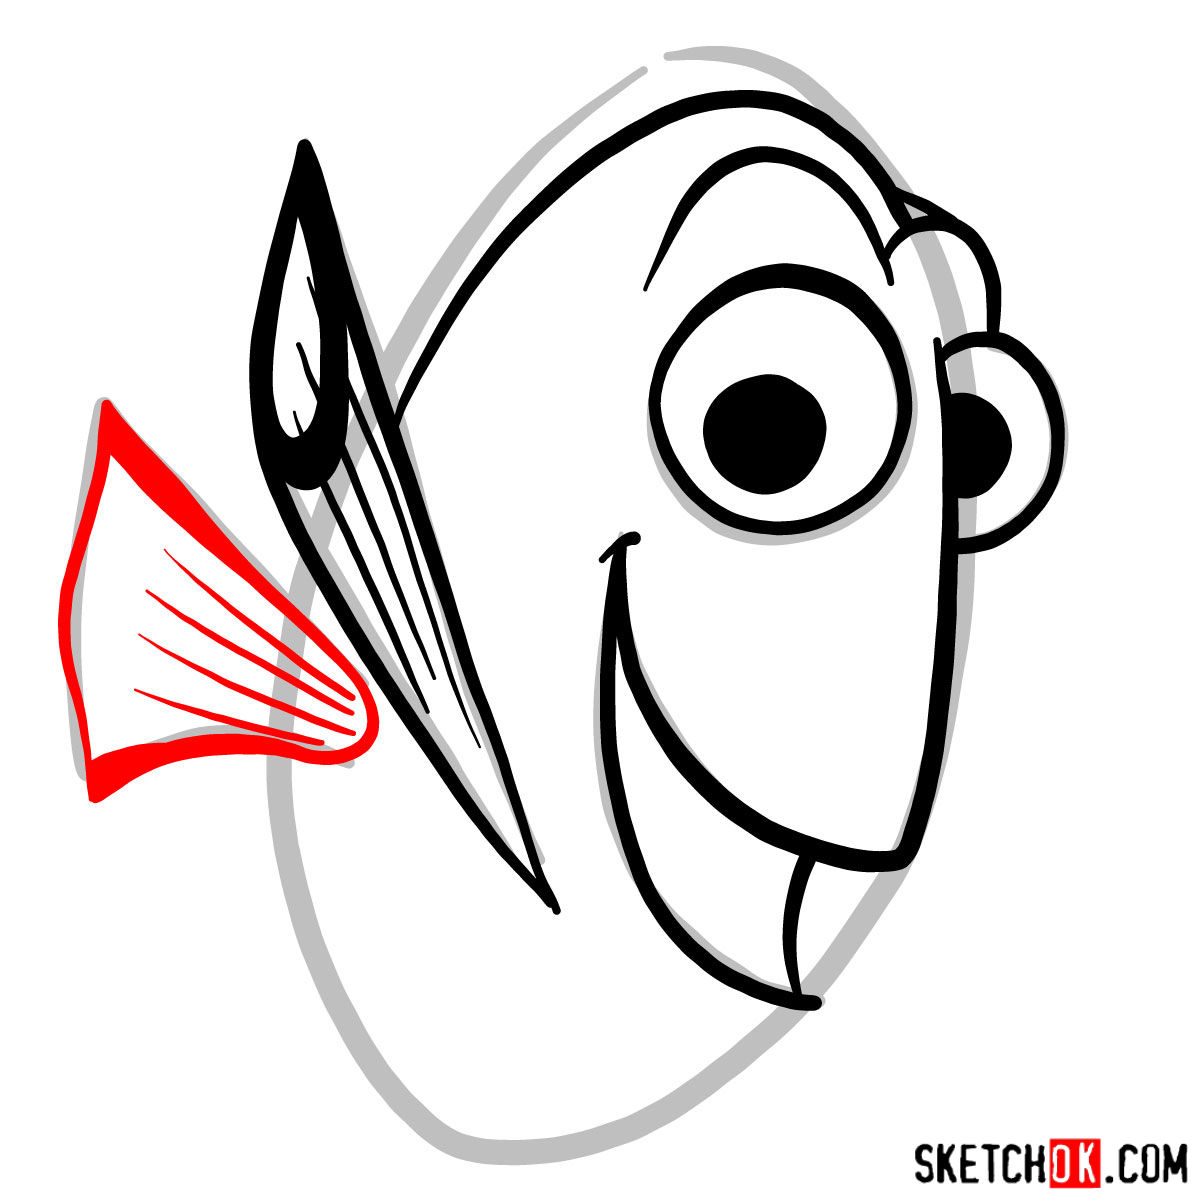
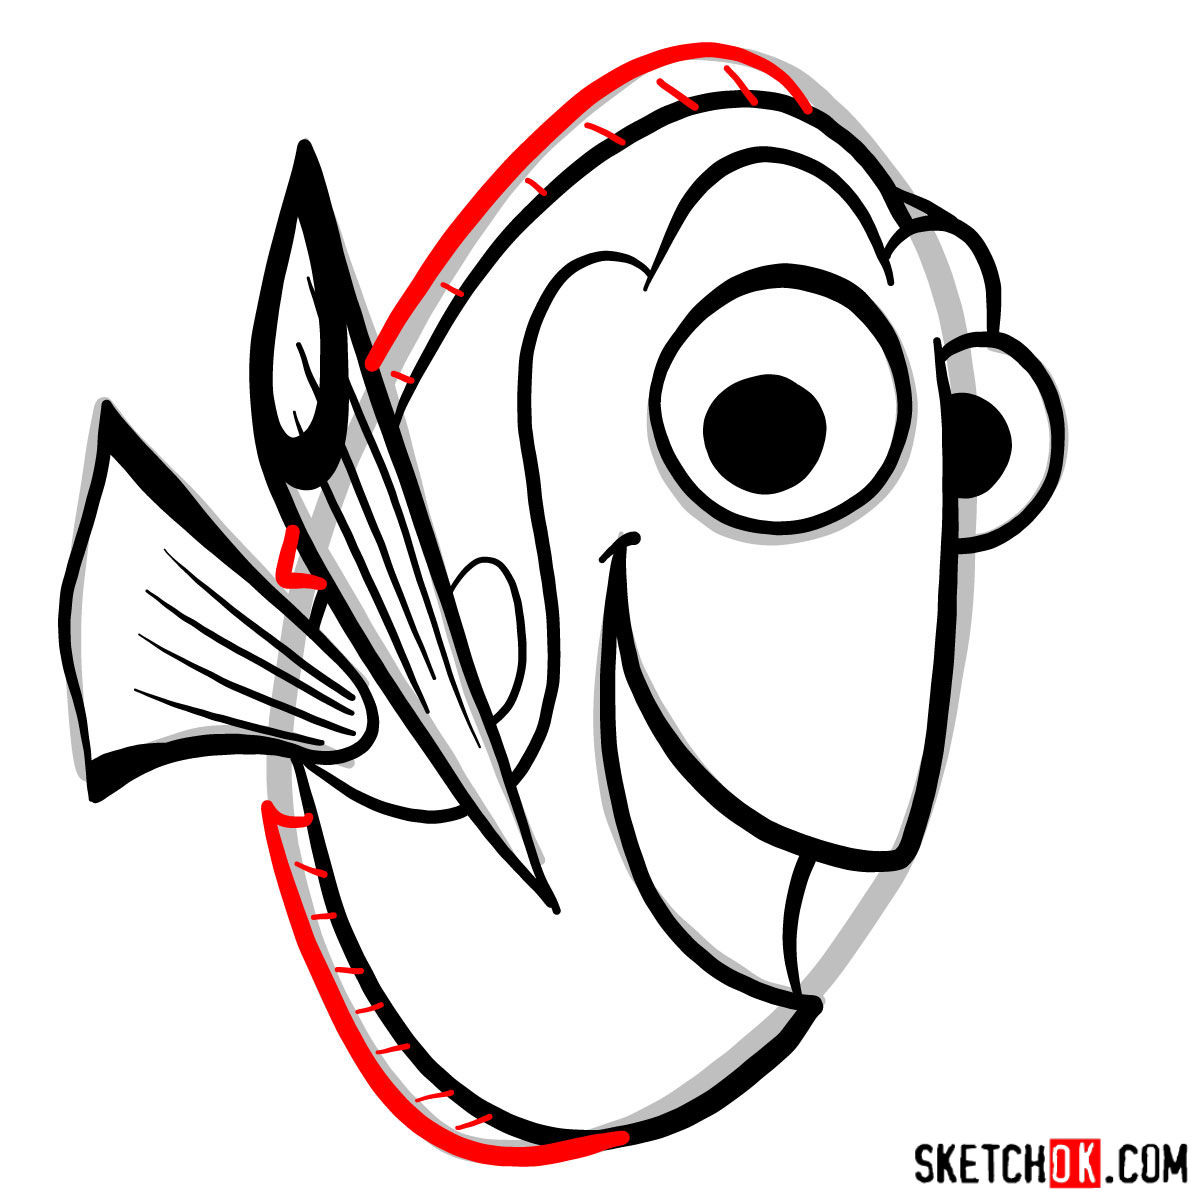
This guide is designed to walk you through each step of the drawing process, from the initial sketch to the final touches. The guide features 10 steps, with each new step represented by a different color. Here’s how the color coding works:
- Red Color: This indicates the current step you should be focusing on.
- Black Color: This color showcases the lines you’ve already drawn.
- Grey Color: This shows the basic sketch, or the foundation of your drawing.
The first step is all about creating the basic structure of the sketch. It’s recommended to use light pencil strokes for these steps, as it makes it easier to adjust and refine the drawing. After completing all the steps, you may choose to ink your sketch for a more defined look. Just make sure to let the ink dry before gently erasing the pencil lines to avoid smudging. The final image in the guide can be used as a color reference for coloring your drawing.

Frequently Asked Questions
What type of pencil should I use for the basic sketch?
A light graphite pencil, such as an H or 2H, is ideal for the initial stages of your sketch. These types of pencils allow for easy erasing and adjustments as you refine your drawing.
Why should I wait for the ink to dry before erasing the pencil lines?
It’s important to let the ink dry before erasing to avoid smudging the ink and potentially ruining your artwork. The drying time can vary depending on the type of ink and paper used, so it’s best to wait a few minutes to be safe.
How can I accurately capture Dory’s personality in my drawing?
Think about Dory’s characteristics and traits as you draw. Her bubbly and optimistic personality can be reflected in her body language and facial expressions. For example, drawing her with wide, expressive eyes and a big, friendly smile can help convey her joyful and friendly nature.
Wrap-Up and Invitation
There you have it, a step-by-step guide on how to draw Dory. I hope this guide sparks your creativity and helps you create a drawing you’re proud of. If you found this guide helpful, please consider sharing the link with others. You never know who might be inspired to pick up a pencil and start drawing!
Keeping this project live and creating new free drawing guides requires resources, which is why I kindly ask for your support. By donating at this link, you can help keep the SketchOk project going and allow us to develop even more helpful guides. Your support can also help us take on new drawing challenges and requests, ensuring we continually provide content that you find valuable and enjoyable.
Don’t forget to follow SketchOk on Facebook, Instagram, and Pinterest for more drawing inspiration and tutorials. Remember, every drawing begins with a single line, and every artist started with a single drawing. Just keep drawing!